Settings Reference
This page is a complete reference for every configurable option in GridMind. Settings are found at app.gridmindpower.com in the Settings section of the left sidebar.
Powerwall Controls
Available for: Tesla Powerwall users
Operation Mode
Controls how the battery charges and discharges:
Self-Powered (default): The battery charges from solar and discharges to cover home loads, prioritizing eliminating grid imports. Export to grid only happens if battery is full.
Time-Based Control: The battery follows a TOU-aware schedule. Required for GridMind Optimize — both the peak-export and kilowatt-hour banking strategies — and manual peak-hour export.
To switch: Settings → Powerwall Controls → Operation Mode
Backup Reserve
The minimum SOC the battery will maintain at all times, reserved for grid outage backup power.
| Setting | Value | Description |
|---|---|---|
| Minimum | 0% | Not recommended |
| Default | 20% | ~2–4 hours backup for average home |
| Storm Watch override | 100% | Automatic during severe weather |
| Recommended range | 15–30% | Balances backup vs. daily cycling |
A backup reserve of 0% means the battery will fully discharge during peak export. If the grid goes down at that moment, you’ll have no backup power.
GridMind Optimize Pro
See the full GridMind Optimize guide for how the strategy works.
| Setting | Type | Description | Example |
|---|---|---|---|
| Enable | Toggle | Turn Optimize on/off | On |
| Peak start time | Time | When peak TOU period begins | 4:00 PM |
| Peak end time | Time | When peak TOU period ends | 9:00 PM |
| Buffer time | Minutes | How early to start pre-charging before peak | 90 min |
| Minimum reserve during peak | % | Lowest SOC Optimize will discharge to | 5% |
TOU Rates
Configure your utility’s time-of-use rate schedule. These rates drive all financial calculations in GridMind (Value page, Optimize savings, AI bill estimates).
| Setting | Description | Example |
|---|---|---|
| Peak rate | $/kWh during peak hours | $0.56 |
| Mid-peak rate | $/kWh during mid-peak (optional) | $0.28 |
| Off-peak rate | $/kWh during off-peak hours | $0.18 |
| Export rate | $/kWh for energy sold to grid (NEM rate) | $0.10 |
| Peak start time | When peak pricing begins | 4:00 PM |
| Peak end time | When peak pricing ends | 9:00 PM |
| Mid-peak hours | Optional secondary rate period | 9 AM – 4 PM |
| Bill reset day | Day of month your utility bill resets | 15 |
Example — PG&E EV2-A Summer Rate (Northern California):
Peak rate: $0.56/kWh (4:00 PM – 9:00 PM)
Off-peak rate: $0.22/kWh (9:00 PM – 4:00 PM)
Export rate: $0.10/kWh (all hours, NEM 3.0)
Bill reset day: 1
Settings Page Layout
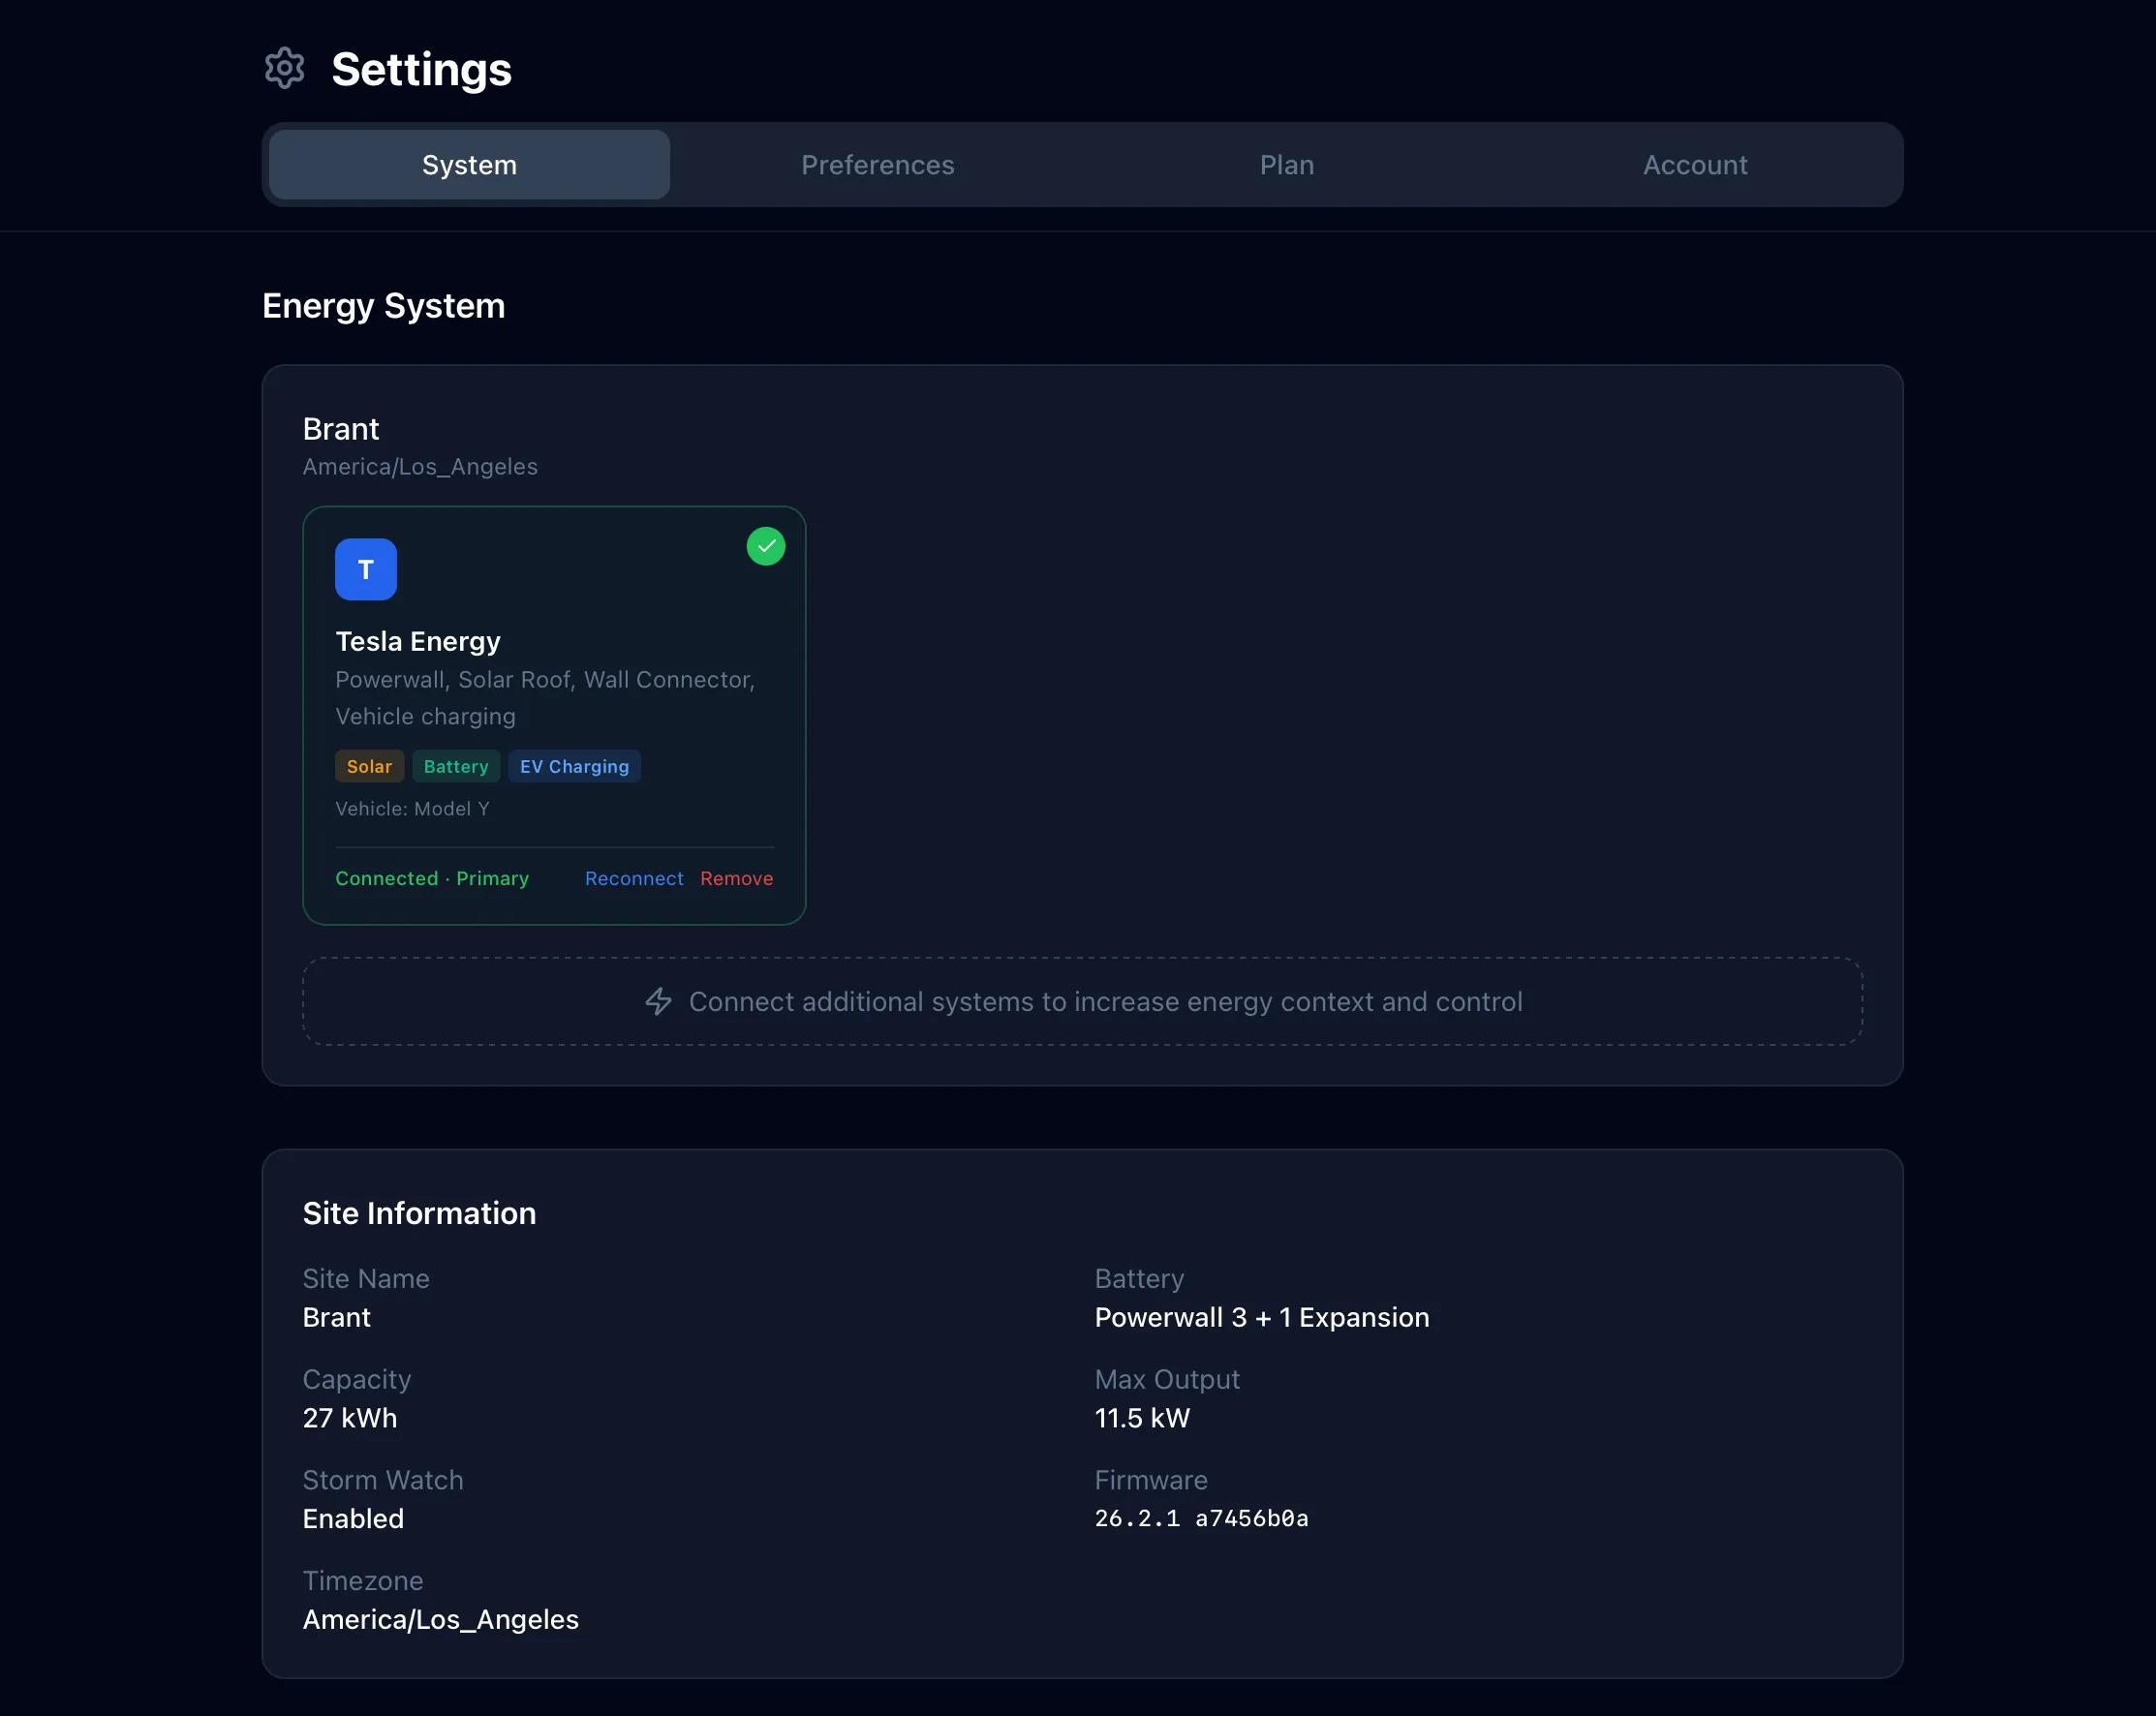
The Settings page is organized into three sections that follow a clear hierarchy: Sites → Integrations → Configuration.
Sites
The Sites section is always visible at the top of Settings, even if you only have one site. Each site card shows the site name, timezone, and the number of connected integrations. Tap or click a site to make it active — all data across the app switches to that site immediately.
- Add Site: Pro users can add up to 3 sites total. Click “Add Site” to create a new system and walk through the setup flow.
- Remove Site: Long-press (iOS) or click the remove button (web) on any site to delete it. Sites with no integrations can be removed this way — useful for cleaning up test sites or abandoned setups.
Integrations
Below the site list, the Integrations section shows vendor connections for the active site:
- Connection name and system type
- Status: Connected / Error / Refreshing
- Last successful sync timestamp
- Site discovery and vendor site selection
- Remove connection button
Configuration
The Configuration section groups all per-site settings: System Location, Solar Panel Configuration, Grid Energy Sources, and System Investment. These settings apply to the currently active site.
Multi-Site Management Pro
Pro users can manage up to 3 energy systems across different locations. Each site operates independently with its own vendor connections, automations, optimizer schedule, timezone, and energy provider.
- Site Picker: Switch between sites using the dropdown in the web sidebar or the toolbar button on iOS. Your active site is remembered across sessions.
- All Sites View: Select “All Sites” in the site picker to see combined power and energy data across all locations in one aggregate dashboard.
- Cross-Device Sync: Sites added or removed from the web app appear automatically on iOS when the app returns to the foreground — no manual refresh needed.
- Per-Site Data: Dashboard, AI Insights, and all energy pages clear stale data and refresh instantly when you switch sites.
Free plan: 1 system maximum. Upgrade to Pro for up to 3 systems.
Adding a System
- Open Settings and tap “Add Site” (or click ”+ Add System” during initial setup)
- Select system type (Tesla, Enphase, SolarEdge, Porsche, Kia, Hyundai, ChargePoint)
- Enter system name and timezone
- Complete system OAuth or API key entry
- Click “Discover Site” to auto-detect your battery/inverter ID
Deleting a System
Deleting a system permanently removes all associated energy readings, automation rules, and configuration. This cannot be undone.
Location & Solar
| Setting | Description | Example |
|---|---|---|
| Address | Your home address (geocoded for solar irradiance) | 123 Main St, San Jose, CA |
| Installation cost | System cost for break-even tracking (optional) | $25,000 |
Solar Arrays
Configure up to 4 solar arrays, each with its own orientation. This is especially useful for split-roof installations where panels face different directions.
| Setting | Per-Array | Description | Example |
|---|---|---|---|
| Name | Yes | Label for this array | South Roof |
| Capacity | Yes | DC nameplate capacity for this array | 7.5 kW |
| Tilt | Yes | Panel angle from horizontal (0°=flat, 90°=vertical) | 25° |
| Azimuth | Yes | Compass direction panels face (180°=south) | 180° |
| DC/AC Ratio | No (shared) | Panel DC capacity to inverter AC capacity ratio | 1.2 |
| Inverter Efficiency | No (shared) | Inverter conversion efficiency | 0.96 |
| System Losses | No (shared) | Wiring, soiling, shading losses (%) | 14% |
For split arrays, add a separate entry for each orientation. GridMind fetches orientation-specific irradiance data for each array and sums them for a more accurate total forecast. The total system capacity shown on your dashboard is the sum of all array capacities.
Tesla Credentials
Required for Tesla Fleet API integration. See the Tesla integration guide for full setup instructions.
| Setting | Description |
|---|---|
| Client ID | Your Tesla Fleet API application’s OAuth client ID |
| Client Secret | Your Tesla Fleet API application’s OAuth client secret |
| Public Key | Your registered public key (for Tesla’s vehicle command security) |
Notifications
Configure alerts for important energy events.
| Notification | Channel | Trigger | Rate Limit |
|---|---|---|---|
| Grid outage | Email + iOS push | Grid goes offline | 1/hour |
| Grid restored | Email + iOS push | Grid comes back online | 1/hour |
| Low battery | Email + iOS push | Battery below configured % | 1/hour |
| Optimize started | iOS push | Peak window begins | Per event |
| Optimize complete | iOS push | Peak window ends | Per event |
| Trial ending | 3 days before Pro trial expires | Once |
Webhook Integration
Enter a webhook URL to receive event notifications in Slack, Discord, or any HTTP endpoint.
Webhook payload format:
{
"event": "grid_outage",
"system_id": "abc123",
"timestamp": "2026-03-15T18:30:00Z",
"data": {
  "battery_soc": 45,
  "solar_output": 2.3
}
}
Example Slack webhook: paste your Slack incoming webhook URL from api.slack.com/apps
AI Insights Pro
| Setting | Description |
|---|---|
| Provider | Select AI provider: Google Gemini, Groq, or OpenAI |
| API Key | Your API key from the selected provider |
See the AI Insights guide for provider comparison and setup instructions.
Appearance
- Theme: Light, Dark, or System (follows your OS setting)
- Available in both the web app and iOS app
Account
- Display name: How your name appears in the app
- Email: Contact GridMind support to change your login email
- Password: Use the “Forgot Password” link on the login page to reset your password